Epoxy Resin Flooring
Common Problems with Epoxy Resin Flooring and How to Solve Them
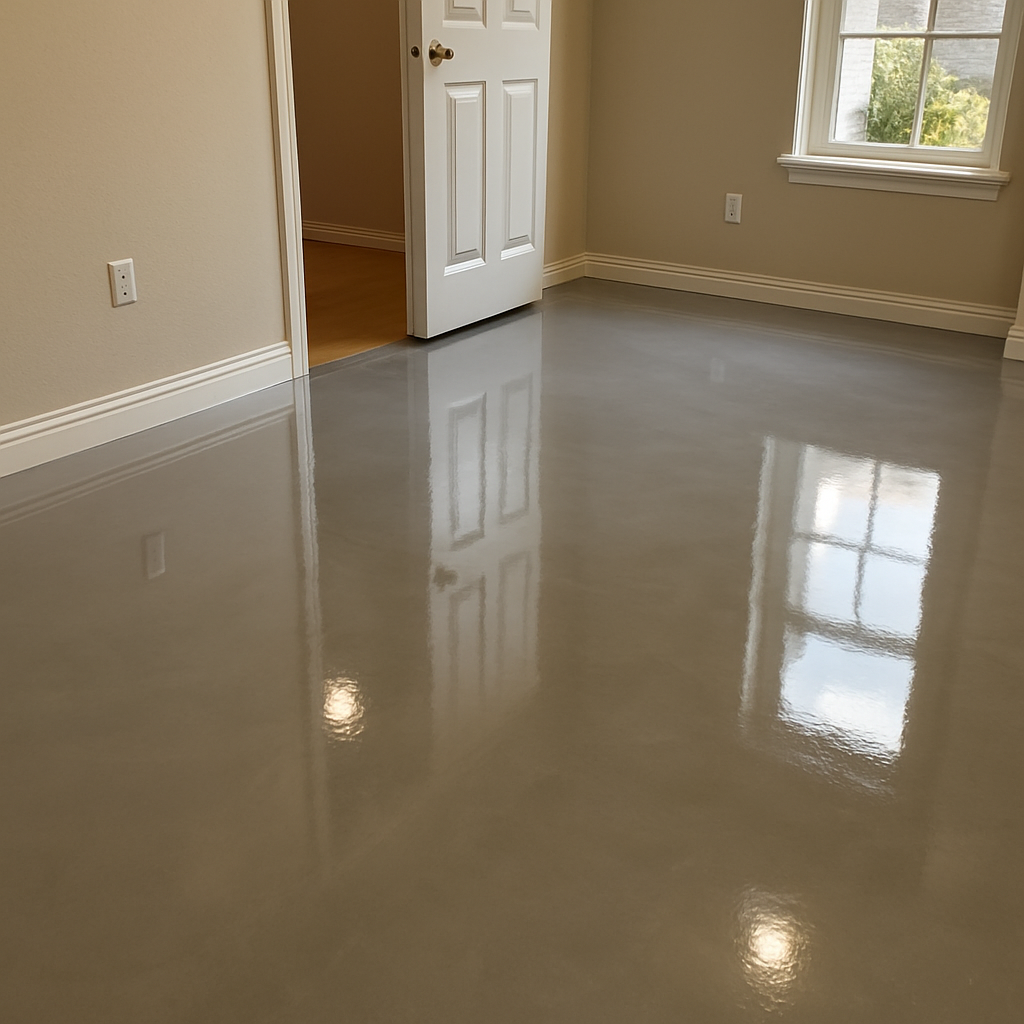
Introduction to Epoxy Resin Flooring
If you’ve ever walked into a garage or a commercial space and thought, “Wow, this floor looks like it could survive a zombie apocalypse,” chances are you were standing on epoxy resin flooring. This superhero of the flooring world combines durability with aesthetic appeal, making it a top choice for various applications.
Definition of epoxy resin flooring
So, what exactly is epoxy resin flooring? In simple terms, it’s a type of floor coating made from a mixture of resin and hardener that creates a strong, durable surface when cured. Think of it as the ultimate shield for your floors-like a knight’s armor but for concrete! Epoxy can be used in both residential and commercial settings, providing protection against spills, stains, and heavy foot traffic.
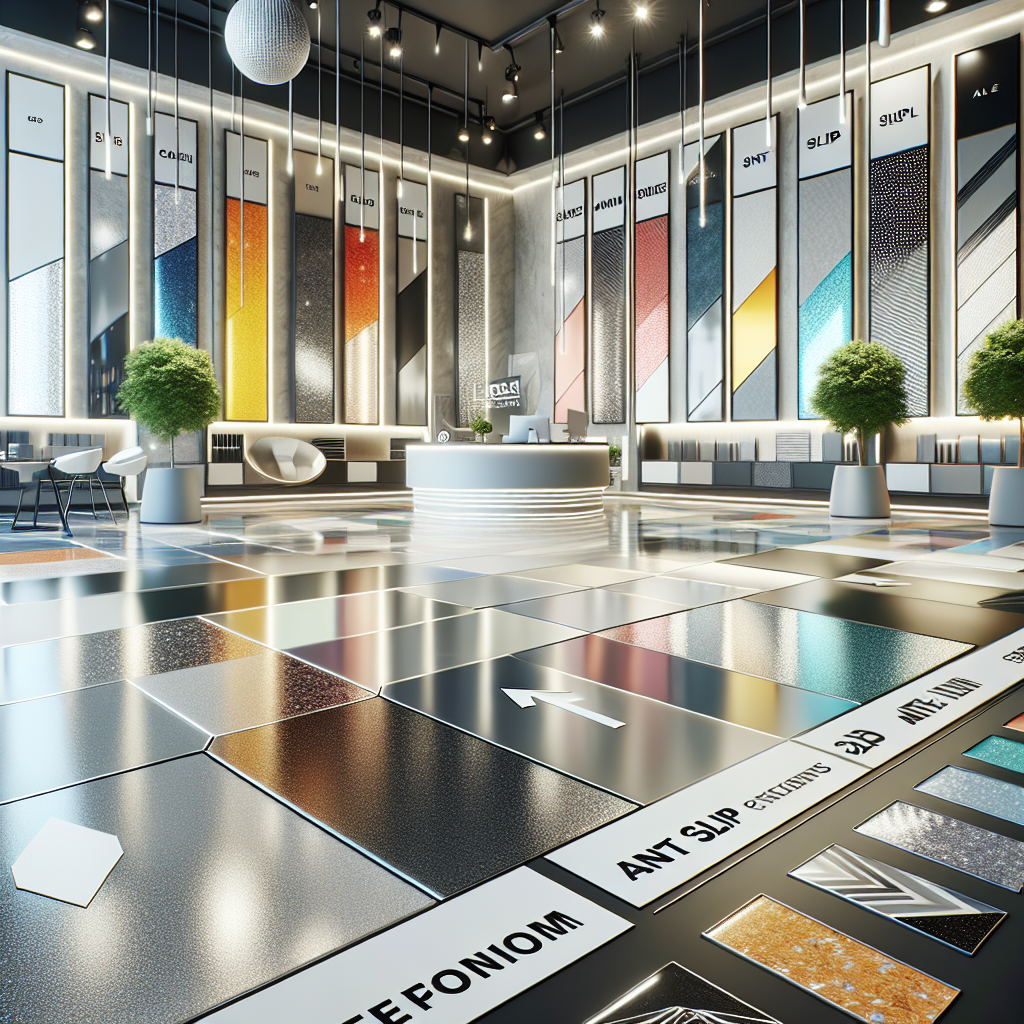
Benefits of using epoxy resin flooring
The benefits of epoxy floor coatings are practically endless. Here are some key perks:
- Durability: Epoxy is tough stuff! It can withstand heavy machinery in industrial settings and is resistant to chemicals and moisture.
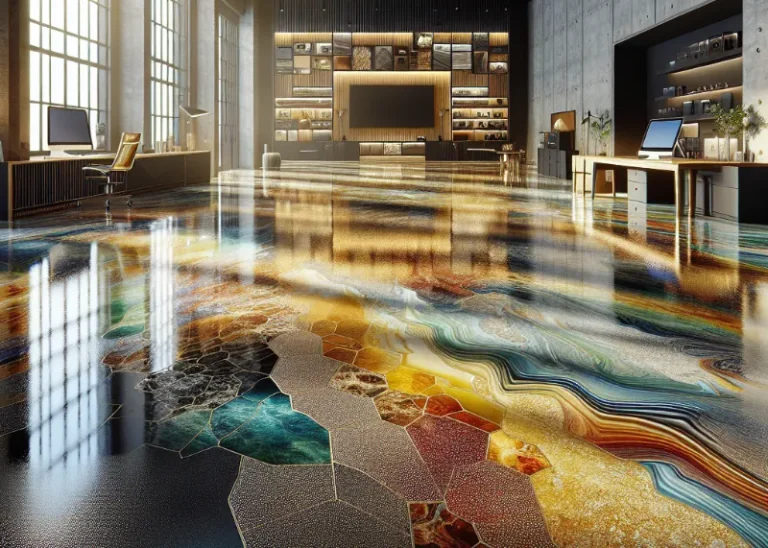
- Aesthetic Appeal: With options like decorative epoxy flooring, metallic epoxy floors, and even 3D epoxy floor designs, you can customize your space to reflect your style.
- Low Maintenance: Once installed, these floors require minimal upkeep-just a quick mop now and then!
- Sustainability: Many modern epoxies are eco-friendly and non-toxic, making them safe for both you and the planet.
- Quick Installation: With fast-curing resin solutions available, you won’t have to wait long before strutting across your new floor.
Did You Know?
The global epoxy flooring market was valued at USD 2.6 billion in 2020 and is expected to grow at a compound annual growth rate (CAGR) of 5.3% from 2021 to 2028. This growth reflects the increasing demand for durable flooring solutions across various sectors!
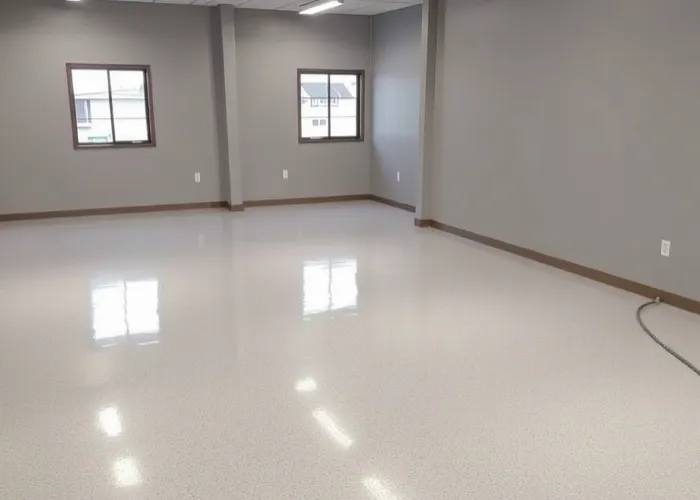
Common applications in residential and commercial settings
Epoxy resin flooring isn’t just for warehouses or factories; it’s popping up everywhere! Here’s where you might find it:
- Residential Spaces: Think garages or basements transformed into stylish hangouts with garage epoxy flooring.
- Commercial Settings: Retail stores love the high-gloss finish that makes their space shine while being easy to clean.
- Industrial Facilities: Heavy-duty floor coatings protect against wear and tear while ensuring safety with slip-resistant options.
- Aesthetic Applications: Custom designs can turn an ordinary floor into an eye-catching centerpiece!
No matter where it’s used, epoxy floor installation delivers results that look stunning while standing the test of time. Just remember: not all heroes wear capes-some come in glossy finishes!
The next time you’re considering new floors-whether for home or business-remember that choosing epoxy resin flooring could be your best decision yet!
If you’re intrigued by the possibilities but worried about potential problems down the line, don’t fret! In the next sections, we’ll dive into common issues with epoxy floors and how to solve them like pros.
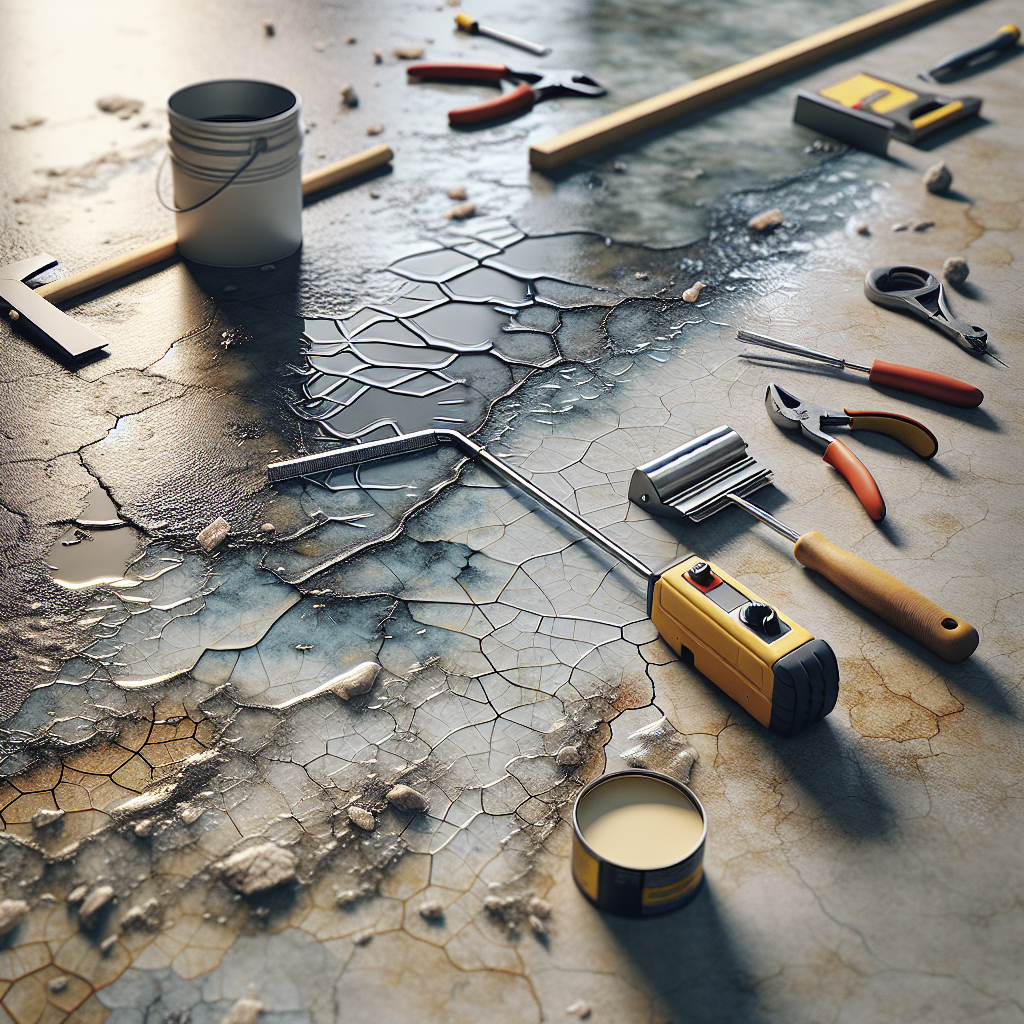
Common Problems with Epoxy Resin Flooring
Even the toughest superheroes have their kryptonite, and epoxy resin flooring is no exception. While it’s a champion in durability and style, various issues can arise during or after installation. Let’s explore some common problems you might encounter with your epoxy floor coating and how to tackle them like a pro.
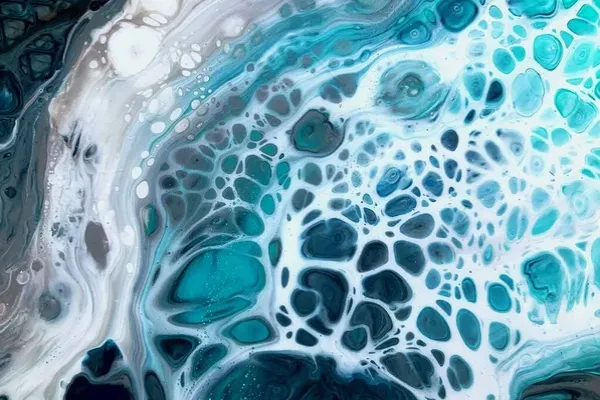
Pitting and Bubbling
No one wants to walk on a floor that resembles Swiss cheese! Pitting and bubbling can occur when moisture gets trapped under the surface during the curing process. This is particularly common in garage epoxy flooring where humidity levels can be unpredictable.
- Solution: Ensure proper moisture testing of the concrete before installation. If you notice bubbles forming, gently sand them down and apply a thin layer of epoxy floor paint to smooth things out.
- Tip: Consider using self-leveling epoxy floors, which can help minimize these issues by creating an even surface.
Yellowing or Discoloration
If your once-vibrant floor starts looking like it’s been sunbathing too long, yellowing or discoloration could be at play. This often happens due to exposure to UV rays, especially in spaces with lots of natural light.
- Solution: Opt for UV resistant epoxy flooring. This special formulation protects against fading while keeping your floors looking fresh and fabulous.
- Fun Fact: Some decorative options, like metallic epoxy floors, are less prone to discoloration due to their unique composition!
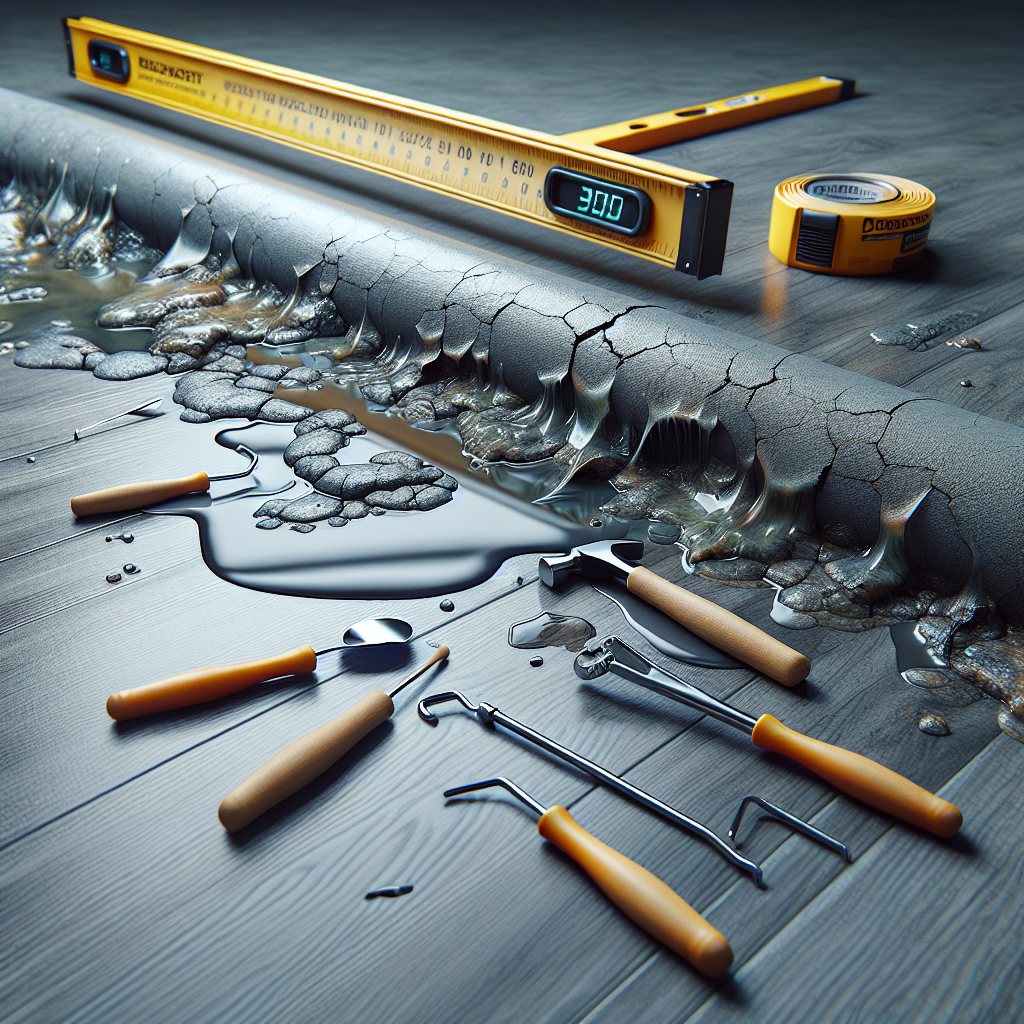
Cracking and Peeling
Your beautiful epoxy floor shouldn’t resemble a jigsaw puzzle! Cracking and peeling can result from improper installation or thermal expansion. It’s like your flooring is trying to escape from its own beauty!
- Solution: Ensure that the surface is properly prepared before application. If cracks appear post-installation, use a high-quality epoxy repair kit to fill in those gaps.
- Caution: Avoid applying heavy-duty coatings over poorly prepared surfaces; this can lead to more peeling down the line.
Inadequate Bonding to Subfloor
If your epoxy flooring starts lifting up like a bad haircut, inadequate bonding might be the culprit. This issue often arises when the concrete isn’t clean or dry enough before installation.
- Solution: Always clean the subfloor thoroughly and allow it to dry completely before proceeding with epoxy floor installation. A good bond is essential for longevity!
- Clever Tip: Using a primer can enhance adhesion between the concrete and your new clear epoxy resin floor.
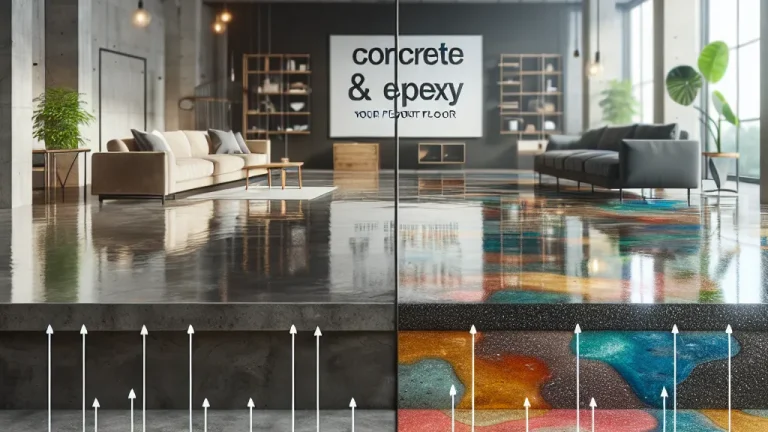
Moisure Issues Underneath the Coating
Moisure lurking beneath your beautiful resin surface? Yikes! This sneaky problem can lead to bubbling, peeling, or even mold growth over time. It’s like having an unwelcome guest who just won’t leave!
- Solution: Conduct moisture tests before installation. If moisture levels are high, consider using waterproof resin floors, which are designed specifically for such conditions.
- Avoid Mistakes: Never skip sealing cracks in the subfloor; they could be pathways for moisture intrusion!
The Bottom Line:
No flooring solution is without its challenges, but being informed about potential pitfalls of epoxy resin flooring, you can make smarter decisions that will keep your floors looking their best for years to come!
If you’re considering an upgrade or facing any of these issues already, don’t hesitate! Reach out for expert advice on maintaining or installing stunning new floors that will stand up against anything life throws at them!
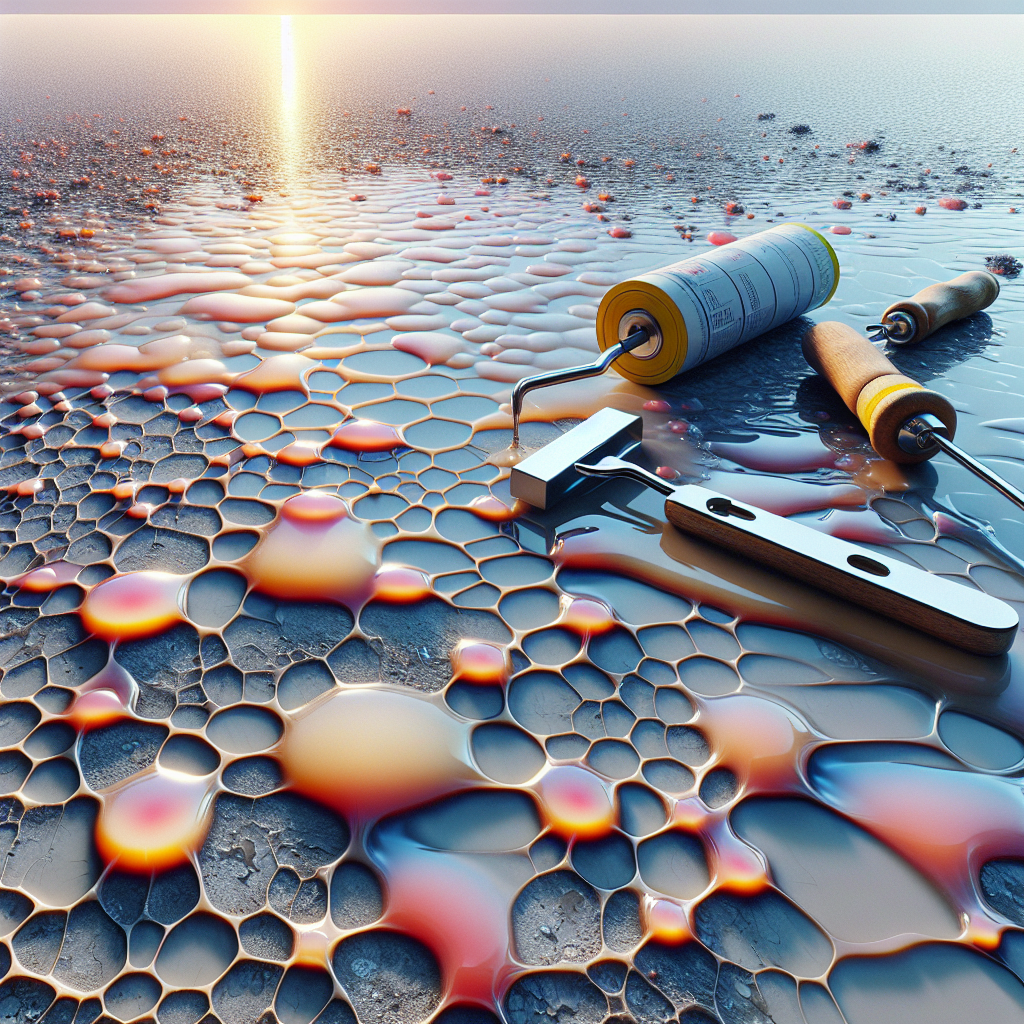
Pitting and Bubbling: Causes and Solutions
No one wants to walk on a floor that resembles Swiss cheese! Pitting and bubbling can occur when moisture gets trapped under the surface during the curing process. This is particularly common in garage epoxy flooring where humidity levels can be unpredictable.
Understanding the causes of pitting and bubbling
Pitting and bubbling are often caused by a few sneaky culprits:
- Moisture Content: High moisture levels in the concrete can lead to vapor rising as the epoxy cures, resulting in unsightly bubbles.
- Temperature Fluctuations: Rapid changes in temperature during installation can affect how the epoxy cures, leading to uneven surfaces.
- Improper Mixing: Not mixing the resin and hardener correctly can result in air pockets that form during application.
Preventive measures during installation
The best offense is a good defense! Here are some preventive measures to consider before diving into your epoxy floor installation:
- Moisture Testing: Always conduct moisture tests on your concrete slab before applying any coatings. Aim for moisture levels below 4% for optimal results.
- Temperature Control: Ensure that the temperature is stable (ideally between 60°F to 85°F) during application and curing.
- Proper Mixing Techniques: Follow manufacturer instructions closely when mixing your epoxy components to avoid air entrapment.
Repair techniques for existing issues
If you find yourself facing pitting or bubbling after installation, don’t panic! Here’s how you can tackle these issues head-on:
- Sanding Down Bubbles: Use a fine-grit sandpaper to gently sand down any bubbles or pits until smooth. This will prepare the surface for repair.
- Patching with Epoxy Floor Paint: Apply a thin layer of epoxy floor paint, allowing it to cure properly. This will create a seamless finish over the affected areas.
- Avoiding Future Problems: Consider using self-leveling epoxy floors, which can help minimize these issues by creating an even surface that better adheres to the substrate.
The Bottom Line:
Pitting and bubbling might be annoying, but with proper preparation and timely repairs, your epoxy resin flooring can look stunning for years to come. Remember that prevention is key!
If you’re already facing pitting or bubbling on your floors, don’t hesitate! Reach out for expert advice on maintaining or installing stunning new floors that will stand up against anything life throws at them!
Yellowing or Discoloration: Prevention and Remedies
If your once-vibrant floor starts looking like it’s been sunbathing too long, yellowing or discoloration could be at play. This often happens due to exposure to UV rays, especially in spaces with lots of natural light. Think of it as your epoxy resin flooring getting a little too much vitamin D!
Factors Contributing to Yellowing
So, what causes this unsightly transformation? Here are the primary suspects:
- UV Exposure: Prolonged sunlight can lead to fading and yellowing of the epoxy surface.
- Chemical Reactions: Certain cleaning agents or spills may react adversely with the epoxy, causing discoloration.
Selecting UV-Resistant Epoxy Products
The best offense is a good defense! When choosing your epoxy floor coating, look for products specifically labeled as UV resistant epoxy flooring. These formulations are designed to withstand sunlight’s harsh effects, keeping your floors looking fresh and fabulous.
Pro Tip:
Consider installing high-gloss epoxy floors, which not only look stunning but also reflect light better, helping to reduce visible wear over time!
Treatment Options for Discolored Floors
If you’ve already noticed some yellowing on your beautiful floors, don’t despair! Here are some effective treatment options you can consider:
- Sanding and Recoating: Lightly sand the affected areas and apply a fresh coat of epoxy floor paint. This will restore that glossy finish and cover up any discoloration.
- Using Clear Epoxy Resin Floors: For a seamless repair that enhances durability, consider applying a layer of clear epoxy resin over the existing surface. It acts as a protective shield against future UV damage!
- Regular Maintenance: Keep your floors clean using non-toxic cleaners that won’t react with the epoxy. A regular cleaning routine can help prevent future discoloration.
The Bottom Line:
No flooring solution is without its challenges, but being informed about potential pitfalls of epoxy resin flooring, you can make smarter decisions that will keep your floors looking their best for years to come!
If you’re considering an upgrade or facing any of these issues already, don’t hesitate! Reach out for expert advice on maintaining or installing stunning new floors that will stand up against anything life throws at them!
Cracking and Peeling: Identification and Fixes
Your beautiful epoxy resin flooring shouldn’t resemble a jigsaw puzzle! Cracking and peeling can result from improper installation or thermal expansion. It’s like your flooring is trying to escape from its own beauty!
Causal Factors for Cracking and Peeling
Understanding why your floor might be cracking or peeling is the first step to preventing it. Here are a few common culprits:
- Improper Application: If the epoxy wasn’t mixed or applied correctly, it can lead to adhesion issues that cause cracks and peeling over time.
- Substrate Issues: A dirty, damp, or uneven surface can prevent the epoxy from bonding properly, leading to unsightly damage.
- Thermal Expansion: Changes in temperature can cause the epoxy to expand and contract, leading to cracks if the floor isn’t allowed to move freely.
Inspection Techniques to Identify Early Signs of Damage
Catching problems early can save you a lot of headaches down the line. Here’s how you can keep an eye on your epoxy floor coating:
- Visual Inspections: Regularly check for visible signs of cracking or peeling, especially in high-traffic areas.
- Tapping Test: Gently tap the surface with a hard object; if you hear a hollow sound, it may indicate poor adhesion.
- Mold Testing: If you notice moisture build-up under the surface, conduct mold tests as this could lead to further deterioration.
Repair Methods for Cracks and Peeling Areas
If you do find cracks or peeling in your epoxy resin flooring, don’t panic! Here are some effective repair methods:
- Sanding Down Peeling Areas: Use sandpaper to remove any loose material around the affected area before applying a fresh coat of epoxy.
- Using an Epoxy Repair Kit: Fill in cracks with an appropriate epoxy filler that matches your existing flooring color.
- Avoiding Heavy Coatings on Poor Surfaces: Never apply new coatings over poorly bonded areas; it’s like putting lipstick on a pig-it won’t solve the underlying problem!
The Bottom Line:
No flooring solution is without its challenges. By being informed about potential pitfalls of epoxy resin flooring, you can make smarter decisions that will keep your floors looking their best for years to come!
Poor Bonding: How to Ensure Strong Adhesion
When it comes to epoxy resin flooring, strong adhesion is like the secret sauce in a perfect burger. Without it, everything falls apart! Poor bonding can lead to all sorts of headaches, from peeling edges to unsightly bubbles. But fear not! We’re here to ensure your floors stick around for the long haul.
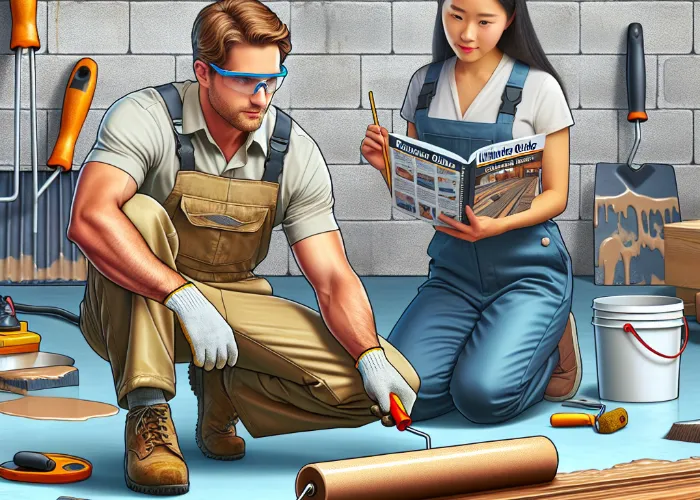
Importance of Surface Preparation Before Application
Imagine trying to bake a cake on a dirty countertop. Not so appetizing, right? Similarly, the surface preparation for your epoxy floor installation is crucial. Here’s why:
- Cleanliness: Any dust, grease, or debris can act like a party crasher, preventing proper adhesion.
- Moisture Levels: The concrete must be dry; otherwise, moisture will sneak in and ruin your beautiful finish.
- Surface Profile: A roughened surface helps the epoxy grip better-think of it as giving your floor a good grip on reality!
Before diving into application, always conduct a thorough cleaning and moisture test. Remember: preparation is key!
Tools and Techniques for Achieving Proper Adhesion
The right tools can make all the difference when it comes to achieving that perfect bond. Here’s what you need in your toolkit for successful epoxy floor coating:
- Mop and Broom: Keep it clean! A good sweep and mop will remove dirt and debris.
- Sander or Grinder: Use these tools to create that ideal surface profile-rough enough for grip but smooth enough for style.
- Pry Bar: If you’re dealing with old coatings or adhesives, this tool will help you get down to business.
- Moisture Meter: This handy gadget will help you gauge if your concrete is ready for action!
A little elbow grease goes a long way when prepping surfaces. Trust us; future you will thank present you!
Troubleshooting Bonding Failures Post-Installation
- Sanding Down Problem Areas: Lightly sand any peeling sections before reapplying epoxy. It’s like giving your floor a fresh start!
- Using an Appropriate Primer: Consider applying an epoxy primer before your final coat. This extra layer acts like a bouncer at the club-keeping unwanted guests (like moisture) out!
- Avoid Heavy Traffic Too Soon: Give your new floors time to cure properly before rolling in heavy machinery or foot traffic.
The Bottom Line:
A solid bond between your epoxy resin flooring and its substrate is essential for longevity. By paying attention to surface preparation, using the right tools, and troubleshooting effectively post-installation, you’ll ensure that your floors not only look great but also stand the test of time!
If you’re facing bonding issues or just want some expert tips on installation techniques, don’t hesitate! Reach out today for advice on creating stunning floors that are built to last!
Moisture Issues: Mitigation Strategies for Epoxy Floors
Moisture is the sneaky villain in the world of epoxy resin flooring. It lurks beneath the surface, waiting to wreak havoc on your beautiful floors. Whether you’re dealing with industrial epoxy flooring or a cozy residential epoxy flooring setup, understanding moisture issues and how to mitigate them is crucial for long-lasting results.
Identifying Moisture Problems Under Epoxy Flooring
The first step in tackling moisture issues is to recognize them before they become a full-blown crisis. Here are some signs that moisture might be playing tricks under your floor:
- Bubbling or Pitting: If your floor looks like it has a bad case of the hiccups, moisture might be trapped underneath.
- Mold Growth: If you see unsightly patches of mold or mildew, moisture levels are likely too high.
- Peeling Edges: When the edges of your epoxy start lifting, it’s a sign that moisture may have compromised the bond.
Conducting regular inspections can help catch these issues early, saving you time and money down the line.
Solutions for Moisture Mitigation Before Installation
Your best defense against moisture problems starts before you even apply that shiny new epoxy floor coating. Here’s how to prepare:
- Moisture Testing: Always perform a moisture test on your concrete slab. Aim for levels below 4% for optimal results.
- Surface Preparation: Clean and dry the surface thoroughly. Think of this as giving your floor a spa day before its big reveal!
- Selecting Waterproof Options: If high moisture levels are expected, consider using waterproof resin floors. They’re like an umbrella for your flooring!
- Adequate Ventilation: Ensure good airflow in areas prone to dampness. This helps reduce humidity levels and keeps things dry.
The Bottom Line:
Tackling moisture issues before they arise is key to ensuring your epoxy resin flooring remains beautiful and functional over time. A little prep work goes a long way!
Maintenance Tips to Prevent Future Moisture-Related Issues
- Avoid Water Accumulation: Don’t let puddles linger on the surface. Wipe up spills immediately-think of it as cleaning up after a party!
- Mop with Care: Use non-toxic cleaners that won’t react with your epoxy. Regular cleaning will keep things looking fresh without inviting trouble.
- Create Drainage Solutions: In areas prone to water exposure, consider adding drainage mats or sloped surfaces to direct water away from your floors.
- Semi-Annual Inspections: Conduct regular checks for any signs of damage or wear. This proactive approach can save you from costly repairs later!
The Bottom Line:
Your epoxy resin flooring, whether it’s garage epoxy flooring, commercial epoxy flooring, or decorative options, deserves some TLC! With proper maintenance and attention to potential moisture issues, you can ensure longevity and beauty for years to come.
If you’re currently facing any moisture-related challenges or want expert advice on installation techniques that minimize risks, don’t hesitate! Reach out today and let us help you create stunning floors built to last!
Conclusion: Maintaining Your Epoxy Resin Flooring
Recap of Common Problems
We’ve journeyed through the ups and downs of epoxy resin flooring. From pesky pitting and bubbling to the dreaded yellowing and cracking, each issue has its own set of challenges. But fear not! With a little knowledge and effort, these problems can be tackled head-on.
Importance of Regular Maintenance
Just like your car needs an oil change, your epoxy floor coating requires regular TLC to keep it looking fabulous. Here are some key maintenance tips to ensure longevity:
- Routine Cleaning: Sweep and mop regularly to prevent dirt buildup. Think of it as giving your floors a spa day!
- Immediate Spill Response: Wipe up spills right away. The quicker you act, the less chance there is for staining.
- Periodic Inspections: Check for any signs of damage or wear every few months. Catching issues early can save you from costly repairs later!
- Avoid Heavy Traffic Too Soon: After installation, give your new floors time to cure before rolling in heavy machinery or foot traffic.
The Bottom Line:
Your epoxy resin flooring, whether it’s industrial epoxy flooring, residential epoxy flooring, or decorative epoxy flooring, deserves consistent care. With proper maintenance, you can enjoy beautiful, durable floors for years!
Encouragement to Seek Professional Help When Needed
If you encounter persistent issues or feel overwhelmed by maintenance tasks, don’t hesitate to reach out for professional help. Experts in epoxy floor installation can provide tailored solutions that keep your floors in top shape.
A little investment in professional services can go a long way in preserving the beauty and integrity of your floors, ensuring they remain an asset rather than a headache!
If you’ve learned something valuable today about maintaining your epoxy resin flooring, why not share this knowledge with someone else? Or better yet, take action! Regular upkeep is the key to enjoying stunning floors that withstand life’s challenges.