7 Critical Steps for a Perfect Flooring Installation Every Time
Introduction to Flooring Installation
Welcome to the world of flooring installation, where every step counts and the right choices can elevate your space from drab to fab! Whether you’re diving into hardwood floor installation or exploring the wonders of luxury vinyl plank installation, understanding the basics is crucial. Let’s break it down!
Importance of Proper Flooring Installation
Imagine stepping onto a floor that feels like a cloud beneath your feet, yet you find yourself tripping over uneven planks or dealing with unsightly gaps. Yikes! Proper flooring installation is not just about aesthetics; it’s about ensuring longevity and durability. Here are a few reasons why getting it right matters:
- Durability: A well-installed floor can withstand the test of time, especially in high-traffic areas.
- Cost Efficiency: Avoiding costly repairs or replacements down the line saves you money.
- Aesthetic Appeal: Seamless transitions and custom floor designs enhance your home’s beauty.
- Safety: Proper installation reduces hazards like slips and falls.
Did you know? The global flooring market size was valued at USD 388.24 billion in 2020 and is projected to grow at a CAGR of 6.1% from 2021 to 2028, reflecting an increasing demand for quality flooring solutions!
Overview of Common Flooring Types
The variety of flooring options available today can make your head spin! But fear not, here’s a quick rundown on some popular types:
- Hardwood Floors: Classic elegance with warmth-perfect for residential spaces.
- Laminate Flooring: Affordable and versatile, great for DIY enthusiasts looking for easy installation.
- Tile Flooring: Durable and waterproof-ideal for kitchens and bathrooms.
- Vinyl Floor Installation: Budget-friendly with endless design possibilities, including eco-friendly options!
- Carpet Installation: Cozy underfoot but requires more maintenance-think child-friendly or pet-friendly solutions!
No matter which option you choose, understanding their benefits will help you make informed decisions tailored to your needs.
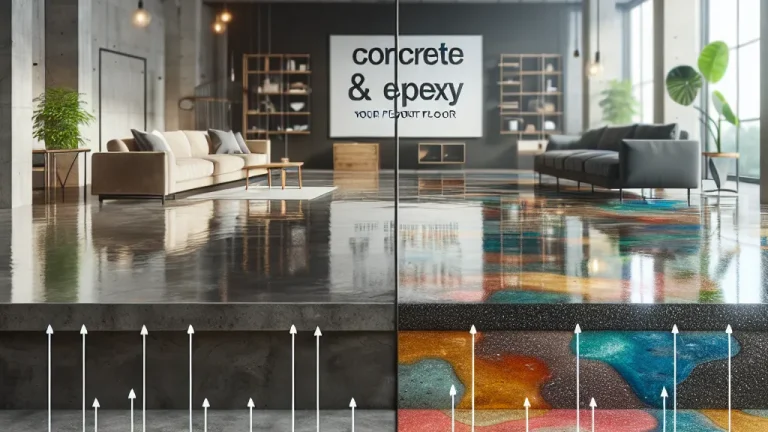
A Brief Mention of Epoxy Flooring Benefits
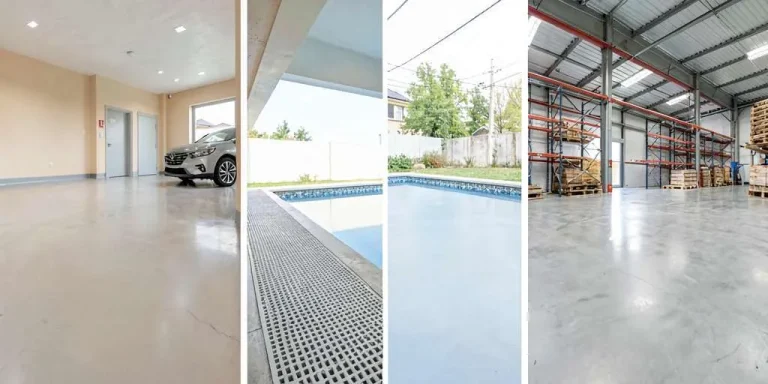
If you’re considering something sleek and durable for commercial spaces, epoxy flooring could be your best friend! This option not only provides a high-gloss finish but also boasts impressive strength against wear and tear. Plus, it’s easy to clean-perfect for busy environments!
The bottom line? Understanding these fundamentals will set you on the path toward a successful flooring journey. So grab those tools (or call your local floor contractors), because it’s time to transform your space into something spectacular!
Step 1: Planning and Preparation
Assessing the Space and Its Requirements
Before you dive headfirst into flooring installation, it’s essential to assess your space like a detective on a mission! Take a good look around and consider these key factors:
- Room Size: Measure your area accurately. This will help in estimating how much material you need, whether it’s hardwood floor installation or tile flooring installation.
- Subfloor Condition: Inspect for any damage or moisture issues. A solid base is crucial for a successful install.
- Functionality Needs: Consider the purpose of the room. For instance, if it’s a high-traffic area, you may want to opt for durable floors for high traffic areas.
- Aesthetic Preferences: Think about the overall look you want to achieve. Are you leaning towards a modern vibe or something more rustic?
This initial assessment will set the stage for your entire project, ensuring you’re well-prepared to choose the right materials and methods.
Choosing the Right Flooring Material
Now that you’ve scoped out your space, it’s time to pick your flooring material like a kid in a candy store! Here’s how to narrow down your options:
- Hardwood Floors: Perfect for adding warmth and elegance but can be pricier.
- Laminate Flooring: A budget-friendly option that mimics wood without breaking the bank.
- Vinyl Floor Installation: Offers versatility with designs that can resemble natural materials while being waterproof-great for kitchens!
- Carpet Installation: Cozy and sound-absorbing, ideal for bedrooms or playrooms.
- Tile Flooring: Durable and easy to clean, making it perfect for bathrooms and entryways.
Your choice should align with both aesthetics and functionality. Remember, not all materials are created equal; some are better suited for specific environments!
TIP: Look into eco-friendly flooring options. They are not only sustainable but often come with added benefits like durability and lower VOC emissions!
Gathering Necessary Tools and Materials
No one wants to embark on their flooring adventure without the right gear! Here’s a checklist of essentials you’ll need before starting your project:
- Tools:
- Miter saw or circular saw (for cuts)
- Tape measure (to avoid miscalculations)
- Pry bar (for removing old flooring)
- Trowel (for adhesive applications)
- Materials:
- Your chosen flooring material (hardwood, laminate, etc.)
- Underlayment for floors: Essential for soundproofing and moisture barriers!
- Sundries:
- Nails or adhesive (depending on installation method)
Step 2: Measuring the Area Accurately
Techniques for Precise Measurements
Measuring the area accurately is like finding the right pair of shoes; it can make or break your flooring installation. Here are some techniques to ensure you get it just right:
- Use a Laser Measure: Forget about the old tape measure! A laser measure provides quick and accurate readings, making you feel like a futuristic flooring wizard.
- Measure Twice, Cut Once: This age-old adage is your mantra. Always double-check your measurements to avoid costly mistakes.
- Break Down Large Areas: For expansive spaces, divide them into smaller sections. This way, you can manage measurements more easily-think of it as tackling a big pizza one slice at a time!
- Account for Irregular Shapes: If your room has nooks and crannies, sketch out a rough layout. Use geometry to calculate areas of triangles or circles-don’t worry; we won’t tell anyone about your high school math struggles!
Calculating Square Footage for Material Needs
Now that you’re armed with precise measurements, it’s time to calculate square footage. This step is crucial whether you’re going for hardwood floor installation, tile flooring installation, or even vinyl floor installation. Here’s how to do it:
- The Basic Formula: Multiply the length by the width of each section (Length x Width = Area in square feet). Simple as pie!
- Add Extra for Waste: Always account for about 10% extra material to cover mistakes or future repairs-because life happens!
- Create a Material List: Based on your calculations, list out how much of each material you’ll need. Don’t forget to include underlayment if required!
Pro Tip: If you’re unsure about quantities, consult with your local floor contractors-they can provide insights based on their experience and help you avoid ordering too much or too little.
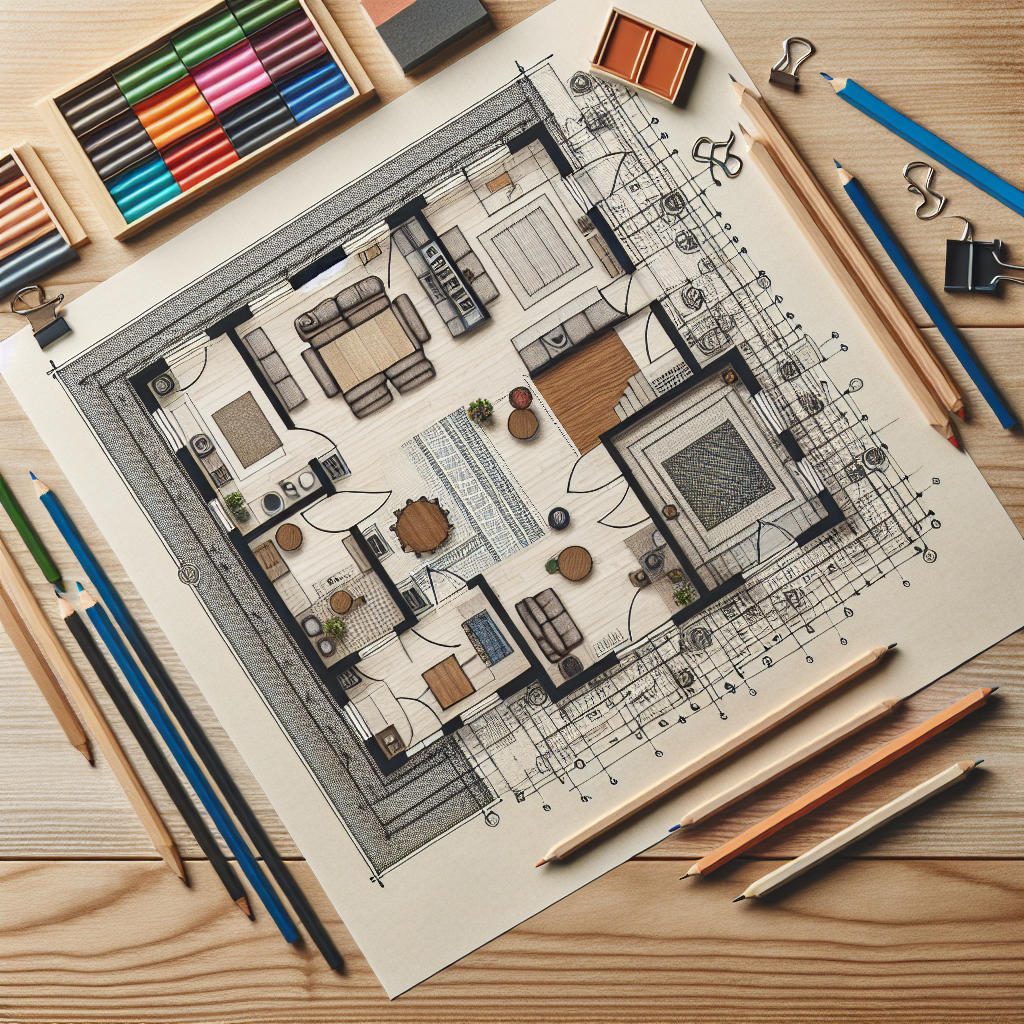
Creating a Layout Plan for Installation
Your layout plan is like the blueprint of an architect; it guides every move during installation. A well-thought-out plan ensures seamless transitions between rooms and minimizes waste. Here’s how to create one:
- Select Your Starting Point: Typically, starting from the longest wall helps maintain straight lines throughout the space.
- Plan Your Direction: Decide on which direction you want your flooring planks or tiles to run-this can dramatically affect the visual flow of your space.
- Create Reference Lines: Use chalk lines or laser levels to mark where each row will go. This little trick helps keep everything aligned and prevents that dreaded “wonky” look!
- Add Transition Strips in Your Plan: If you’re changing materials between rooms (like from tile to carpet), note where transition strips will be needed for smooth movement between surfaces.
The takeaway? Accurate measuring is fundamental in achieving that flawless flooring installation. With precise techniques, calculated square footage, and a solid layout plan in hand, you’re set up for success! Ready to roll up those sleeves? Let’s move on to preparing that subfloor!
Step 3: Preparing the Subfloor
Inspecting and Repairing the Subfloor
Before you can lay down that gorgeous new flooring, you need to ensure your subfloor is in tip-top shape. Think of it as the foundation of a cake; if it’s not sturdy, your cake (or floor) is going to crumble! Here’s how to inspect and repair:
- Check for Damage: Look for cracks, squeaks, or soft spots. If you find any, it’s time to play doctor and patch those up!
- Moisture Issues: Use a moisture meter to check levels. A damp subfloor can lead to mold and mildew-a total party crasher for your flooring installation.
- Level It Out: An uneven subfloor can cause all sorts of headaches later on. If you spot any dips or high spots, consider using a self-leveling compound to create a smooth surface.
If you’re unsure about any repairs, don’t hesitate to call in professional floor installers. They have the expertise to ensure your subfloor is ready for action!
Cleaning the Surface Thoroughly
A clean surface is like a blank canvas waiting for a masterpiece! Before laying down your new flooring-whether it’s hardwood floor installation, tile flooring installation, or vinyl floor installation-make sure your subfloor is spotless. Here’s how:
- Sweeping and Vacuuming: Start by removing dust and debris. A broom and vacuum are your best friends here!
- Mopping: After sweeping, give it a good mop with warm water (and maybe some mild detergent). This will help eliminate any stubborn stains or grime.
- Dirt Be Gone: Pay special attention to corners and edges where dirt likes to hide. A clean surface ensures better adhesion for adhesives or underlayment.
Did You Know? Installing flooring over a dirty surface can result in poor adhesion, leading to future issues like peeling or bubbling!
Ensuring Proper Moisture Levels and Stability
Your subfloor’s moisture levels are crucial for a successful flooring installation. Too much moisture? Say hello to warping and buckling! Too little? Your floors might crack under pressure. Here’s how to strike that perfect balance:
- Use a Moisture Meter: Test the moisture content of your subfloor before installation. For most materials, aim for around 12% or lower.
- Create a Moisture Barrier: If you’re dealing with concrete or areas prone to moisture (like basements), consider installing a moisture barrier before laying down your underlayment.
- Check Temperature Levels: Ensure that both the room temperature and humidity levels are within acceptable ranges as per the flooring manufacturer’s recommendations.
The key takeaway? Proper preparation of your subfloor sets the stage for success in every type of flooring installation-from bamboo floor installations, which require stable bases, to carpet installations, where cleanliness matters! With these steps checked off your list, you’re one step closer to achieving that flawless finish.
If you’re feeling adventurous (or just want some DIY flooring tips), now’s the time to dive in! But if this feels overwhelming, don’t hesitate to reach out for local floor contractors who can guide you through this critical phase!
Step 4: Acclimating Flooring Materials
The Importance of Acclimation for Different Materials
Before you start laying down those beautiful planks or tiles, it’s crucial to let your flooring materials acclimate. Think of it as giving them a little vacation to adapt to their new environment! This step is especially vital for materials like hardwood floors and engineered wood floors, which can expand or contract based on humidity and temperature.
Here’s why acclimation matters:
- Prevents Warping: By allowing your flooring to adjust, you minimize the risk of warping or buckling once installed.
- Ensures Proper Fit: Acclimated materials fit better together, leading to a more seamless look.
- Avoids Gaps: Especially with laminate flooring installation, gaps can form if the material isn’t properly acclimated.
This process is not just a suggestion; it’s a must for achieving that flawless flooring installation.
Tips for Effective Acclimation Process
Ready to let your flooring materials chill? Here are some tips to ensure effective acclimation:
- Timing is Key: Allow at least 48 hours for most materials. For hardwood, consider up to a week if conditions are extreme.
- Create the Right Environment: Store your flooring in the room where it will be installed. Maintain consistent temperature and humidity levels-ideally between 60-80°F and 30-50% humidity.
- Stack It Right: Lay planks flat in stacks, with spacers between each layer for airflow. Avoid leaning them against walls, as this can cause uneven acclimation.
- Avoid Direct Sunlight: Keep the materials away from direct sunlight during the acclimation period; too much heat can skew results!
This simple process can save you from future headaches and ensures that your floor looks stunning right from day one!
Avoiding Common Pitfalls During Acclimation
If you want your flooring installation to go off without a hitch, steer clear of these common acclimation mistakes:
- Pushing It Too Soon: Don’t rush the process! Installing too soon can lead to disastrous results like gaps or warping.
- Inefficient Storage Conditions: Ignoring temperature and humidity guidelines? That’s like baking a cake without checking the oven temperature-disaster awaits!
- Lack of Monitoring: Check on your materials periodically. If conditions change (like an unexpected heat wave), adjust accordingly!
- Treating All Materials the Same: Remember that different materials have unique requirements; tile flooring installation, for example, may need less time compared to hardwood.
Your Takeaway: Proper acclimation is essential for a successful flooring installation. By following these tips and avoiding common pitfalls, you’ll set yourself up for success in creating a beautiful space!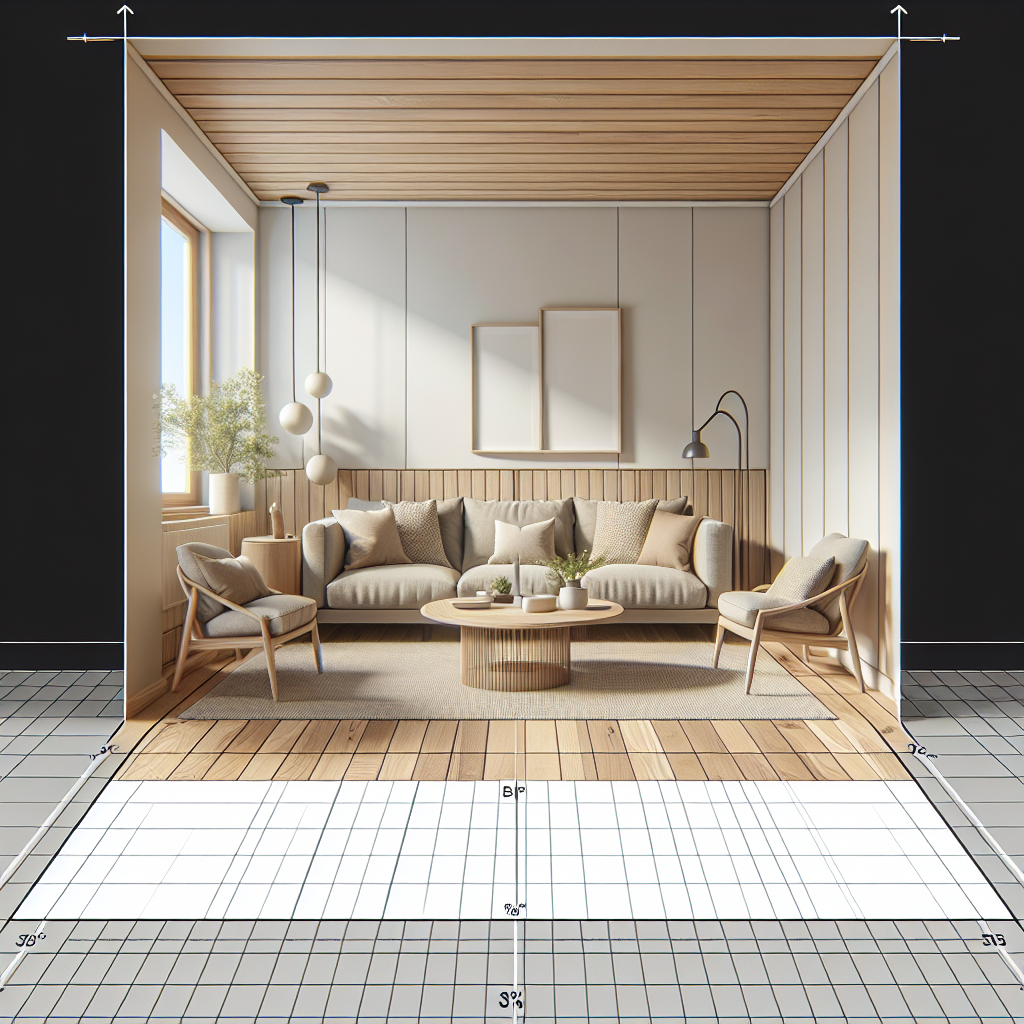
The bottom line? Taking the time to acclimate your flooring materials pays off big-time! So grab those planks, give them some love, and get ready for an amazing transformation in your space!
Step 5: Installation Techniques and Best Practices
Differentiating Between Various Installation Methods (e.g., Glue-Down, Floating)
When it comes to flooring installation, the method you choose can make all the difference. Think of it as picking your favorite pizza topping; everyone has their preference! Here’s a quick overview of some popular installation methods:
- Glue-Down: This method involves applying adhesive directly to the subfloor before laying down the flooring material. It’s often used for hardwood floor installation and tile flooring installation. The benefits? It provides a solid bond and is great for areas with high foot traffic.
- Floating: In this method, flooring pieces are not attached to the subfloor but rather “float” above it, usually with an underlayment. This is common for laminate flooring installation and vinyl floor installation. It allows for expansion and contraction, making it ideal for environments with fluctuating temperatures.
- Nail Down: A classic choice for solid hardwood floors, this technique uses nails to secure planks to the subfloor. It’s durable but requires a wooden subfloor, limiting where you can use it.
- Screw Down: Similar to nail down, but screws provide a tighter fit. This method is often employed in areas where moisture is a concern.
Your choice should align with the type of flooring material and the specific conditions of your space!
Tips for Ensuring Even Placement and Alignment
No one wants a floor that looks like it was laid down during an earthquake! Here are some tips to ensure your flooring is even and aligned perfectly:
- Create Reference Lines: Use chalk lines or laser levels as guides. They help keep everything straight-no one wants wonky floors!
- Start from the Center: For larger rooms, begin laying your flooring from the center outward. This ensures that any cut pieces at the edges will be more visually balanced.
- Check Each Row: As you lay down each row, take a moment to step back and check alignment. A quick visual inspection can save you from headaches later on!
- Use Spacers: If you’re installing floating floors, spacers help maintain consistent gaps around walls for expansion-think of them as your floor’s personal space!
The key here is patience; rushing through this step can lead to uneven placement that’s hard to fix later.
Addressing Expansion Gaps and Transitions Between Rooms
Your floor needs room to breathe-literally! Expansion gaps are crucial in accommodating changes in temperature and humidity. Here’s how to handle them effectively:
- The Right Size Gap: Leave an expansion gap of about 1/4 inch around all edges of your flooring material. This allows for natural expansion without causing buckling or warping.
- Add Transition Strips: When moving between different types of flooring (like from tile to carpet), use transition strips. They create seamless transitions while accommodating height differences between materials.
- Avoid Obstructions: Ensure furniture or other items don’t block these gaps; otherwise, they may inhibit proper expansion!
- Corners Matter Too: Pay special attention at corners; these areas are prone to stress if not properly managed with expansion gaps.
Your Takeaway: Mastering installation techniques ensures not just aesthetic appeal but also longevity in your flooring installation. By choosing the right method, ensuring even placement, and addressing necessary gaps, you’re setting yourself up for success!
If you’re feeling overwhelmed by all these details or want that professional touch, don’t hesitate to consult with local floor contractors. They have experience navigating these intricacies so you can enjoy your beautiful new floors worry-free!
Step 6: Finishing Touches After Installation
Cleansing the Newly Installed Floor Surface
Congratulations, you’ve made it through the installation process! Now it’s time to give your new floors a little love with a thorough cleansing. Think of it as giving your flooring a refreshing spa day before you start strutting around. Here’s how to ensure your floor shines like the star it is:
- Sweep Away Debris: Grab a broom or vacuum to eliminate any dust, dirt, or stray particles left behind from installation.
- Mopping Time: Use a damp mop with a gentle cleaner suitable for your flooring type. Avoid harsh chemicals that could damage finishes!
- Drying Off: Make sure to dry the floor thoroughly after mopping. A wet floor can lead to slips and falls-safety first!
This final touch not only enhances the appearance of your floors but also prepares them for their first impressions (and foot traffic!).
Additions Such as Baseboards or Trim Work Considerations
No flooring installation is complete without those finishing touches that tie everything together! Think of baseboards and trim work as the accessories that elevate your outfit from “meh” to “wow!” Here’s what you need to know:
- Selecting Baseboards: Choose baseboards that complement both your flooring and overall interior design style. Whether you go for sleek modern lines or classic profiles, make sure they fit the vibe!
- Installation Tips: When installing baseboards, use caulk to fill gaps between the wall and baseboard for a seamless look. This also helps in soundproofing-a win-win!
- Consider Quarter Round: If there are any uneven edges where the floor meets the wall, quarter round trim can cover those imperfections beautifully.
If you’re not confident in your DIY skills, don’t hesitate to call in professional floor installers. They can ensure everything is perfectly aligned and secure!
Curing Time and Maintenance Tips Post-Installation
Your beautiful new floors deserve some TLC after installation! Here’s how to keep them looking fresh and fabulous while allowing them time to settle in:
- Curing Times Vary: Depending on the material (think hardwood floor installation, vinyl floor installation, or tile flooring installation), curing times may differ. Generally, allow at least 24-48 hours before heavy foot traffic.
- Avoid Water Exposure: For at least a week post-installation, minimize water exposure on new floors-especially crucial for wood products!
- Regular Maintenance Routine: Establish a cleaning routine using appropriate products for your specific flooring type. This will prolong its life and keep it looking pristine.
- Caution with Furniture Placement: When moving furniture back in, use felt pads under legs to prevent scratches and scuffs-your floors will thank you!
Your Takeaway: The finishing touches after installation are just as important as the initial steps! From cleansing surfaces and adding stylish trim work to respecting curing times and establishing maintenance routines, these steps will ensure your flooring remains stunning for years to come.
The journey of flooring installation doesn’t end here; maintaining its beauty requires ongoing care. So roll up those sleeves and enjoy every step of this fabulous new chapter in your home!
Conclusion: Ensuring Longevity of Your Flooring Installation
Recap of Critical Steps for Successful Installation
As we wrap up this flooring adventure, let’s take a moment to recap the critical steps that lead to a successful flooring installation. From planning and preparation to the finishing touches, each step is vital:
- Planning and Preparation: Assess your space and choose the right materials.
- Measuring Accurately: Ensure precise measurements to avoid costly mistakes.
- Preparing the Subfloor: A solid foundation is key for any installation.
- Acclimating Flooring Materials: Give your floors time to adjust before installation.
- Choosing the Right Installation Technique: Align your method with material and environment.
- Finishing Touches: Don’t forget about baseboards, trim work, and maintenance!
This roadmap will guide you through achieving that flawless finish, whether it’s hardwood floor installation, tile flooring installation, or even vinyl floor installation.
Importance of Regular Maintenance and Care
Your newly installed floors are like a fine wine; they need time and care to truly shine! Regular maintenance is essential for prolonging their lifespan. Here are some tips to keep those floors looking fabulous:
- Create a Cleaning Schedule: Establish a routine that suits your flooring type-gentle cleaners for hardwood, regular vacuuming for carpets!
- Avoid Excessive Water: Especially with wood products, keeping moisture at bay prevents warping and damage.
- Use Protective Measures: Felt pads under furniture legs can save you from scratches, while area rugs can protect high-traffic zones.
- Sweep Daily: A little daily sweeping goes a long way in maintaining cleanliness-think of it as giving your floors their daily workout!
Your Floors Deserve It! Consistent care ensures your investment remains beautiful and functional for years to come. Don’t let dirt or neglect steal their shine!
Encouragement to Consult Professionals When Needed
If you ever feel overwhelmed by the intricacies of flooring installation, remember that there are seasoned experts ready to lend a hand. Consulting with professional floor installers, especially for complex projects or repairs, can save you time, effort, and potential headaches. Here’s when you should consider reaching out:
- If You’re Unsure About Your Skills: If DIY isn’t your strong suit, don’t hesitate to call in the pros!
- If You Encounter Issues: Problems with subfloor stability or moisture levels? Leave it to the experts who know how to handle these situations.
- If You Want Custom Designs: For unique patterns like herringbone setups or custom transitions between rooms, professional help can bring your vision to life!
Your flooring journey doesn’t have to be tackled alone. With local floor contractors at your side, you can enjoy peace of mind knowing that your floors are in expert hands. So go ahead-embrace those beautiful new surfaces with confidence!
The real secret? A little preparation mixed with ongoing care can turn any flooring project into an enduring success story. Now roll up those sleeves (or call in the experts) because it’s time to enjoy the beauty underfoot!
2025 © Ranklytics.